
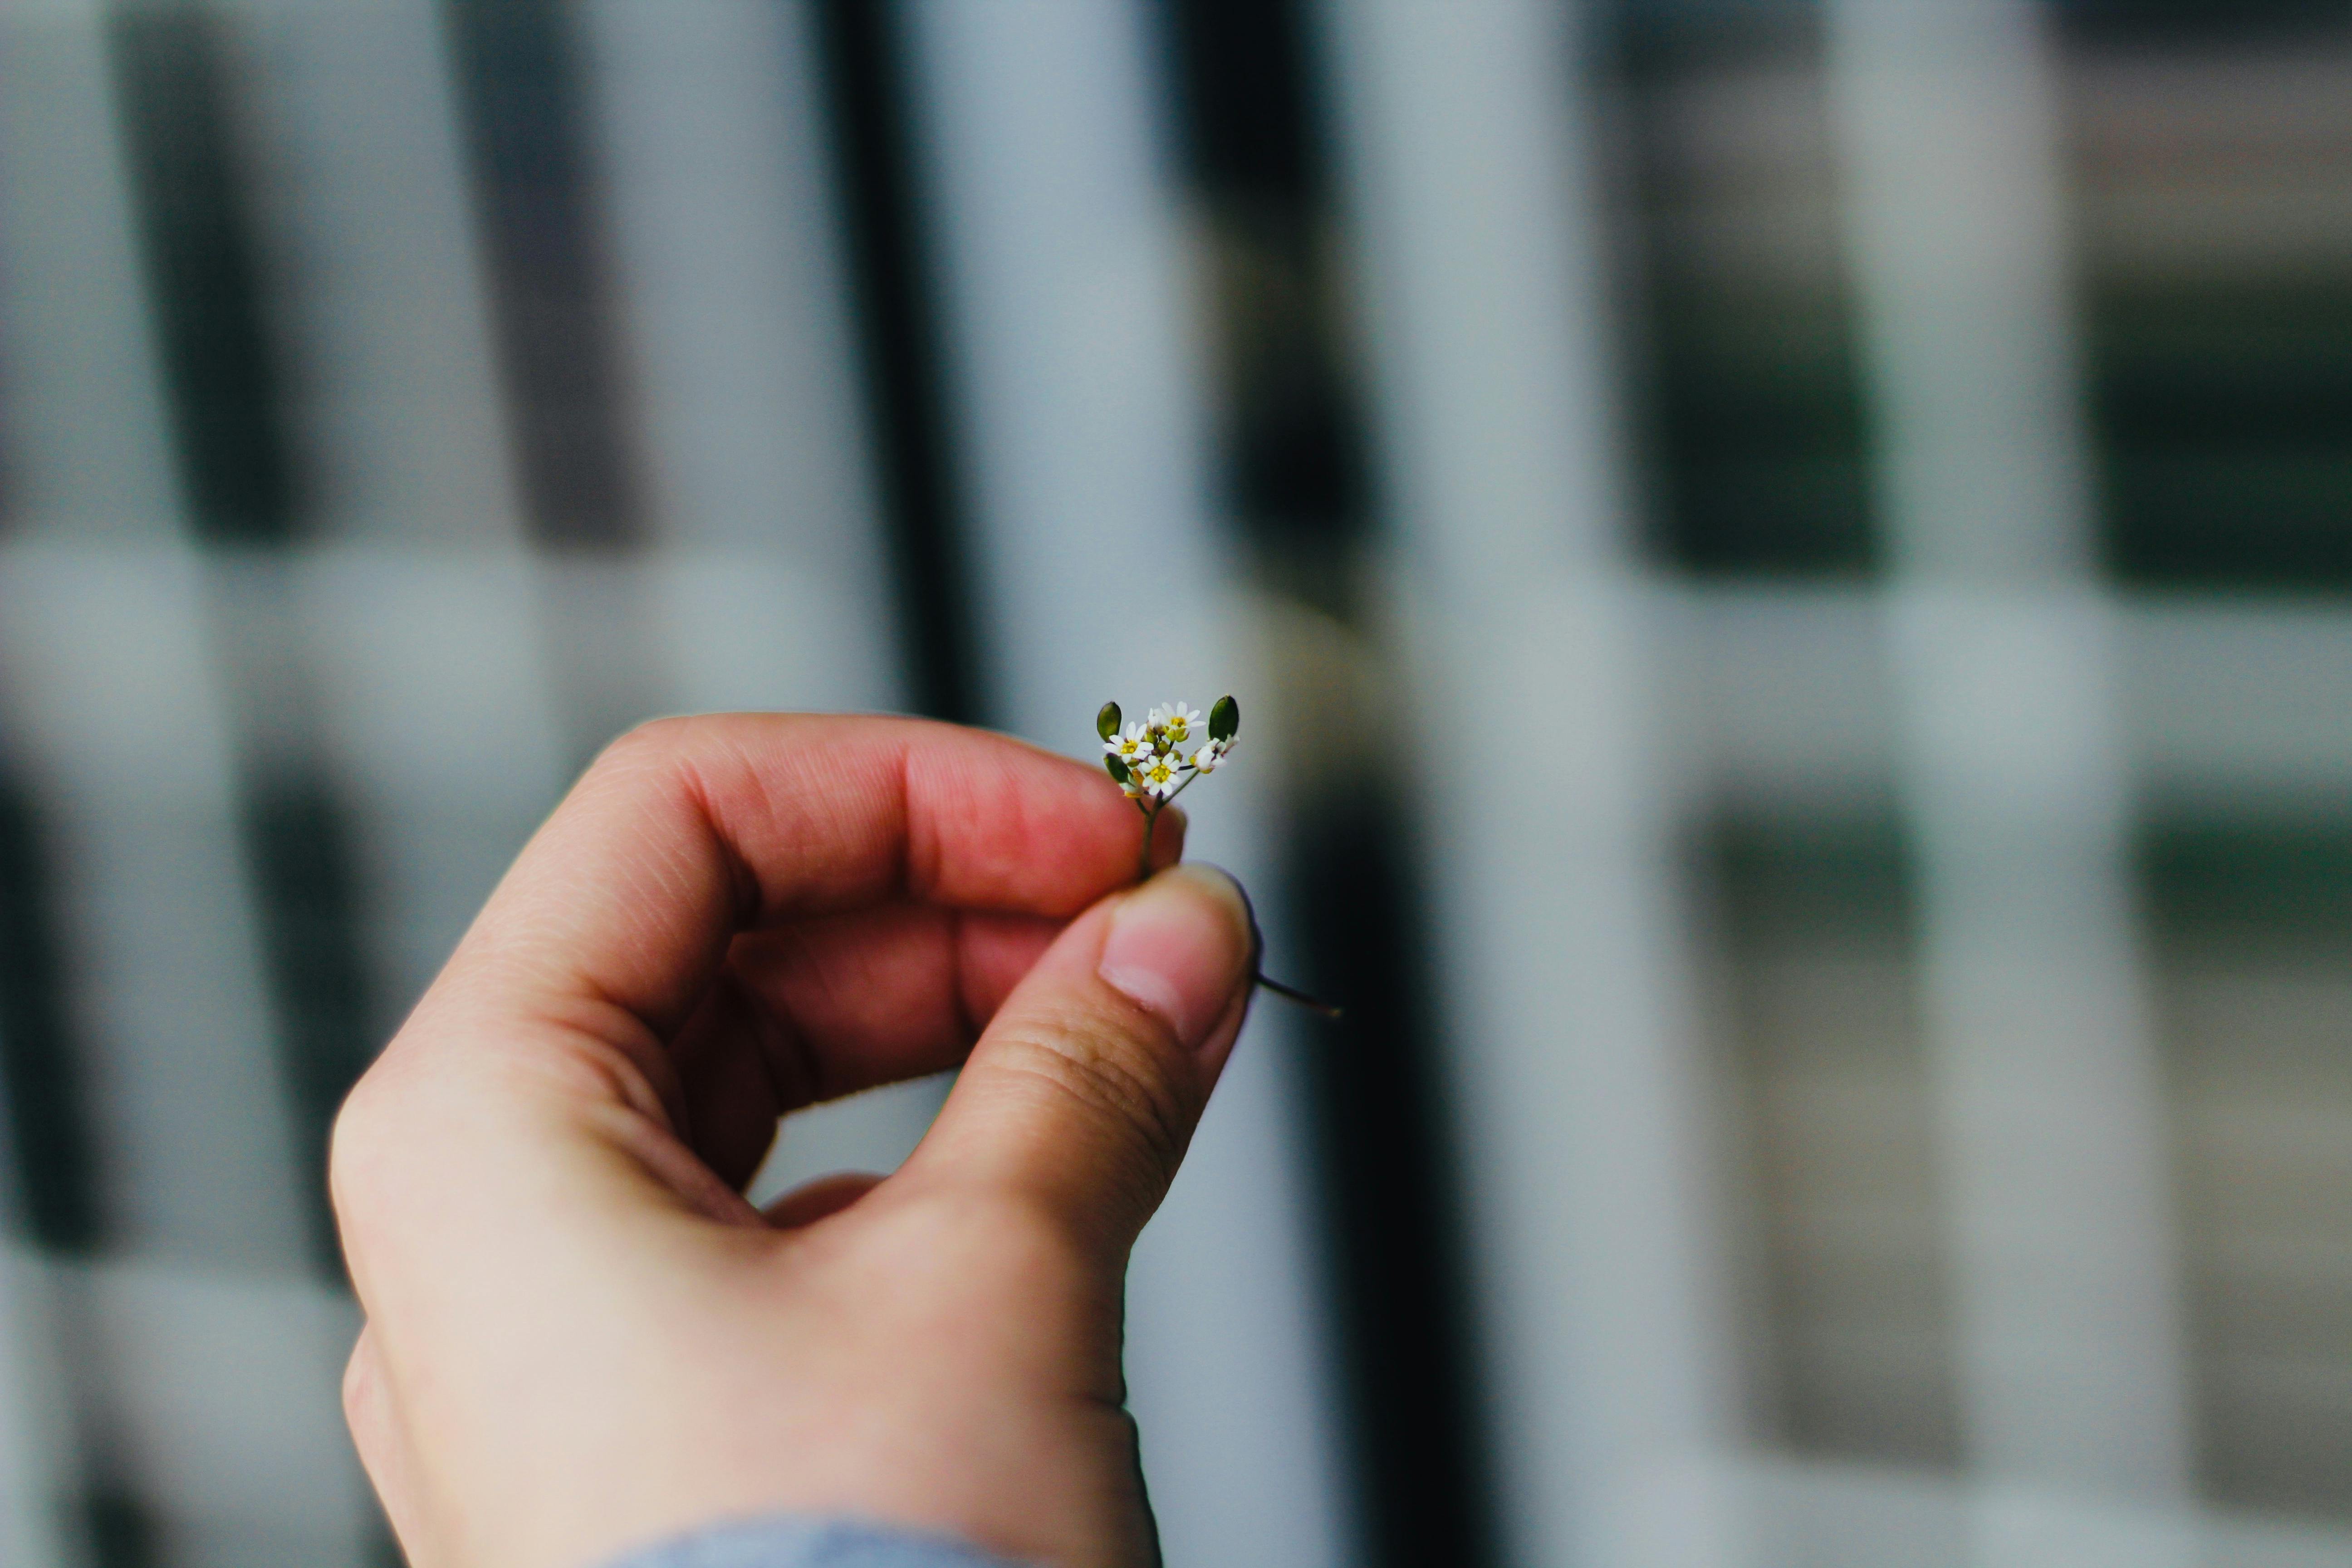
Introduction
Dislocated bird legs can be distressing and painful for our avian friends. This condition occurs when one or more leg bones shift out of their normal position at the joint. It can result from trauma, accidents, or certain medical conditions. Addressing a dislocated bird leg promptly is crucial to alleviate pain, prevent complications, and aid in the bird’s recovery.
Overview of the Problem
A dislocated bird leg significantly impacts a bird’s quality of life, causing pain, discomfort, and difficulty in walking, perching, and flying. Ignoring a dislocated leg can lead to long-term complications, including muscle atrophy and joint stiffness, further hindering mobility.
Benefits of Learning How to Fix a Dislocated Bird Leg
Learning how to fix a dislocated bird leg is immensely beneficial for bird owners, enthusiasts, and individuals involved in bird rescue and rehabilitation. It allows for immediate care and support, potentially saving a bird’s life.
One primary benefit is alleviating the bird’s pain and discomfort. Promptly reducing the dislocation and stabilizing the leg brings relief, allowing the bird to regain mobility.
Addressing a dislocated bird leg also prevents further complications, such as tissue damage or nerve impingement, promoting faster healing.
Additionally, learning how to fix a dislocated bird leg empowers you to provide long-term care for rehabilitation. Understanding the process and requirements ensures the bird’s well-being and increases its chances of a successful recovery.
In conclusion, a dislocated bird leg is a challenging problem that requires swift intervention. By learning how to address this issue, you can alleviate pain, prevent complications, and contribute to the well-being and recovery of our feathered companions. In the following sections, we will delve deeper into understanding dislocated bird legs, preparing for treatment, and providing step-by-step guidance on how to fix a dislocated bird leg.
Understanding Dislocated Bird Legs

A dislocated leg in a bird is distressing and potentially debilitating. Understanding the causes and recognizing the signs is crucial for providing appropriate care.
Causes of Dislocated Legs
Birds can experience leg dislocations due to various factors:
-
Trauma: Collisions, falls, or attacks can displace the joint, causing a dislocated leg.
-
Improper handling: Rough handling or improper gripping can result in leg dislocation. Gentle handling is essential to avoid injury.
-
Wing clipping: Incorrect wing clipping can disrupt a bird’s balance, potentially leading to leg dislocations.
-
Genetic predisposition: Some species may have a higher susceptibility to leg dislocations due to genetic factors or structural abnormalities.
Signs of a Dislocated Leg
Identifying the signs helps determine the appropriate course of action:
-
Visible deformity: A dislocated leg appears misaligned or twisted compared to the other leg.
-
Limping or inability to bear weight: Birds with a dislocated leg have difficulty walking or hopping, often avoiding putting weight on the affected leg.
-
Swelling and pain: Swelling around the joint indicates a dislocated leg. The bird may exhibit discomfort or pain when the leg is touched.
-
Behavioral changes: Birds with a dislocated leg may appear distressed, exhibit lameness, or display altered behaviors due to the injury.
-
Loss of balance: Imbalance affects perching and balance, further hindering movement.
Remember to consult a veterinarian or avian specialist for proper diagnosis and guidance when dealing with a dislocated bird leg. They provide expertise and recommend appropriate treatment options for the bird’s well-being.
[Word Count: 311 words]
Preparing to Fix a Dislocated Bird Leg
Before beginning the procedure to fix a dislocated bird leg, it’s crucial to gather the necessary supplies and prepare the bird for treatment. This section will guide you through the steps required to ensure a safe and successful procedure.
Gathering the Necessary Supplies
To properly treat a bird with a dislocated leg, you’ll need the following supplies:
-
Soft towels or cloth: These will be used to handle the bird gently and provide a soft resting surface during treatment. Ensure the towels are clean and free from any harmful substances.
-
Gloves: Wearing gloves is essential to protect both you and the bird from potential harm. They prevent the transfer of bacteria and provide a better grip while handling the bird.
-
Small towel or bandage: This can be used to gently immobilize the bird’s body during treatment. Ensure it doesn’t restrict the bird’s breathing or movement.
-
Splint material: You’ll need a small, lightweight, and rigid material to create a splint for the bird’s leg. Suitable choices include popsicle sticks, tongue depressors, or a small strip of cardboard. Ensure these materials are clean and free from sharp edges.
-
Adhesive tape: This will secure the splint in place. Use non-toxic tape that won’t cause skin irritation or discomfort to the bird.
-
Scissors: You’ll need clean and sharp scissors to cut the splint material and tape to the appropriate size.
Preparing the Bird for Treatment
Preparing the bird for treatment involves creating a calm and safe environment that minimizes stress and discomfort. Follow these steps:
-
Find a quiet and calm area: Choose a location where the bird can feel secure and free from distractions. A small, enclosed space like a quiet room or a covered cage can help create a sense of security.
-
Approach the bird carefully: Move slowly and speak softly to avoid startling the bird. Sudden movements or loud noises can increase stress, making it more challenging to handle the bird during treatment.
-
Restrain the bird gently: Use a soft towel or bandage to gently immobilize the bird’s body, ensuring its wings are secured close to its body. This prevents the bird from flapping its wings and causing further injury.
-
Minimize movement: Limit unnecessary movement of the bird during the treatment to prevent additional injury or stress. Keep the bird as still as possible while working on fixing its leg.
-
Have a helper if possible: If available, having an additional person can make the process smoother. They can assist in restraining the bird or providing additional support, allowing you to focus on the leg-fixing procedure.
By gathering the necessary supplies and preparing the bird in a calm and secure environment, you’ll be better equipped to effectively fix a dislocated bird leg.
4. Fixing a Dislocated Bird Leg: Step-by-Step Guide

Step 1: Stabilizing the Leg
To begin fixing a dislocated bird leg, it’s crucial to stabilize the leg and minimize further injury and stress to the bird.
- Gently restrain the bird: Start by gently restraining the bird using a towel or cloth to cover its body, leaving only the affected leg exposed. This calms the bird and prevents it from struggling during the procedure.
Step 2: Restoring the Leg to its Natural Position

Once the leg is stabilized, carefully restore it to its natural position.
-
Assess the dislocation: Examine the leg for any visible deformities or signs of dislocation, such as joints out of place or abnormal angles.
-
Hold the leg firmly but gently: With gloves on, hold the bird’s leg firmly but gently, providing stability and control.
-
Manipulate the leg back into position: Slowly and steadily manipulate the leg back into its proper position using gentle traction and rotation. Be cautious and avoid forcing the leg or causing unnecessary pain.
Step 3: Applying a Splint
After restoring the leg, immobilize it with a splint to aid in the healing process.
-
Prepare a splint: Create a lightweight splint using materials like tongue depressors, popsicle sticks, or rolled-up cardboard. Cut the splint to an appropriate size that extends beyond the injured area but doesn’t restrict movement excessively.
-
Position the splint: Carefully position the splint along the length of the leg, providing support and stability. Secure it with medical tape or vet wrap without applying excessive pressure.
Step 4: Keeping the Leg in Place
To promote proper healing and prevent further injury, it’s crucial to keep the leg in place.
-
Monitor the bird: Regularly observe the bird to ensure the splint remains secure and the leg stays in its proper position. Watch for signs of discomfort or complications.
-
Minimize movement: Limit the bird’s movement during the healing process. Provide a quiet and safe environment for reduced stress and uninterrupted healing.
-
Follow-up care: Consult with a veterinarian or avian specialist for further guidance on post-treatment care, including medication, physical therapy, or additional measures for a successful recovery.
By following these step-by-step instructions, you can effectively fix a dislocated bird leg and provide the necessary care for the bird’s recovery.
5. Caring for a Bird with a Dislocated Leg
Immediate Care
When you notice a bird with a dislocated leg, handle it with care and take immediate action. Follow these steps:
-
Approach the bird slowly and calmly: Minimize stress by approaching the bird gently.
-
Use a towel or soft cloth to wrap the bird: Wrap a towel or soft cloth around the bird to provide a secure grip while avoiding additional harm.
-
Avoid exerting excessive force or pressure: Handle the bird delicately, avoiding excessive force or pressure on the injured leg.
-
Do not attempt to reposition the leg: Repositioning requires specialized knowledge and should only be done by a professional to prevent worsening the injury.
-
Place the bird in a secure container for transport: Transfer the bird to a small, well-ventilated, and secure container for safe transportation to a wildlife rehabilitator or avian veterinarian.
Long-Term Care
Once the bird receives initial care from a professional, follow these guidelines for long-term care:
-
Provide a quiet and stress-free environment: Create a calm environment, minimizing disturbances and keeping the bird away from loud noises or pets that may cause stress.
-
Follow the veterinarian’s instructions: Adhere to prescribed medications, administering them as directed and monitoring for adverse reactions.
-
Ensure proper nutrition and hydration: Offer a balanced diet suitable for the bird’s species and provide fresh water to support overall health and recovery.
-
Maintain a comfortable and clean enclosure: Provide a clean and comfortable enclosure with enough space for perching, movement, and exercise. Regularly clean to prevent waste buildup.
-
Monitor the bird’s progress: Keep a close eye on the bird’s recovery, watching for complications such as infection or difficulty moving. Consult the veterinarian promptly if concerns arise.
By following these immediate and long-term care guidelines, you can help ensure the well-being and recovery of a bird with a dislocated leg. Always consult a professional for proper diagnosis and treatment.
Conclusion

In this article, we explored the process of fixing a dislocated bird leg, providing step-by-step instructions and guidance. By understanding the causes and signs of a dislocated leg, as well as the necessary preparations, readers can be equipped to assist their feathered friends in times of need.
Throughout the discussion, we emphasized the importance of properly identifying a dislocated leg and differentiating it from other injuries. This initial step ensures that appropriate treatment is administered, preventing further harm to the bird. Seeking veterinary assistance if unsure or uncomfortable with performing the procedure independently can provide added certainty and expertise during the healing process.
The step-by-step guide we provided offers a structured approach to fixing a dislocated bird leg. From stabilizing the leg to restoring it to its natural position and applying a splint, each step requires gentle and careful manipulation. By following these instructions, readers can effectively promote healing and reduce the risk of re-injury.
Post-treatment care is crucial to facilitate a bird’s recovery from a dislocated leg. We stressed the importance of immobilization and monitoring, which help ensure that the leg remains in place and healing progresses as expected. This care, combined with providing a stress-free environment, greatly contributes to the bird’s overall well-being and rehabilitation.
In conclusion, learning how to fix a dislocated bird leg empowers bird owners and enthusiasts to respond effectively to this specific injury. By following the outlined steps and seeking professional guidance when needed, individuals can provide the necessary care and support for their feathered companions.
Tips for Keeping Birds Healthy and Injury-Free
Beyond addressing dislocated legs, there are proactive measures that bird owners can take to promote the health and well-being of their avian friends:
-
Regular veterinary check-ups: Schedule routine check-ups with an avian veterinarian to monitor your bird’s overall health and detect potential issues early on.
-
Provide a safe environment: Create a bird-friendly space by removing hazards such as toxic plants, sharp objects, and open windows or doors. This ensures the bird’s safety and reduces accidents.
-
Proper nutrition: Offer a balanced diet of high-quality bird food, fresh fruits, vegetables, and clean water. A nutritious diet promotes optimal health and helps maintain strong bones, reducing the likelihood of injuries.
-
Exercise and mental stimulation: Encourage regular exercise by providing a spacious cage or designated area for the bird to move around. Offer toys, perches, and opportunities for mental stimulation to keep your bird active.
-
Preventive measures: Minimize the risk of accidents or injuries by avoiding harmful fumes, trimming the bird’s wings to prevent flight-related accidents, and maintaining a comfortable living space.
By implementing these tips, bird owners can create a safe and nurturing environment for their avian companions, reducing the likelihood of injuries and promoting their overall well-being.
Remember, a proactive and attentive approach to bird care is essential for fostering a happy and healthy relationship with these remarkable creatures.
Frequently Asked Questions
Frequently Asked Questions
1. How do I know if my bird has a dislocated leg?
Signs of a dislocated leg in a bird include visible deformity, limping or inability to bear weight, swelling and pain around the joint, behavioral changes, and loss of balance. If you suspect a dislocated leg, it’s important to consult a veterinarian or avian specialist for proper diagnosis and guidance.
2. Can I fix a dislocated bird leg at home?
While it is possible to fix a dislocated bird leg at home, it is recommended to seek professional guidance. Handling a bird’s injury requires specialized knowledge and techniques to avoid further harm. Consulting a veterinarian or avian specialist ensures that the leg is properly diagnosed and treated.
3. What supplies do I need to fix a dislocated bird leg?
To fix a dislocated bird leg, you will need soft towels or cloth, gloves, a small towel or bandage, splint material (such as popsicle sticks or cardboard), adhesive tape, and scissors. These supplies help stabilize and immobilize the leg during the treatment process.
4. How do I immobilize a bird’s leg after fixing a dislocation?
After fixing a dislocated bird leg, you can immobilize it by applying a splint. Create a lightweight splint using materials like popsicle sticks or cardboard, position it along the length of the leg, and secure it with adhesive tape. This helps support the leg and promote proper healing.
5. What should I do after fixing a dislocated bird leg?
After fixing a dislocated bird leg, it is important to monitor the bird’s progress and provide post-treatment care. This includes observing the bird for signs of discomfort or complications, minimizing its movement to prevent re-injury, and consulting a veterinarian or avian specialist for further guidance on medication, physical therapy, or additional measures for a successful recovery.
Leave a Reply