
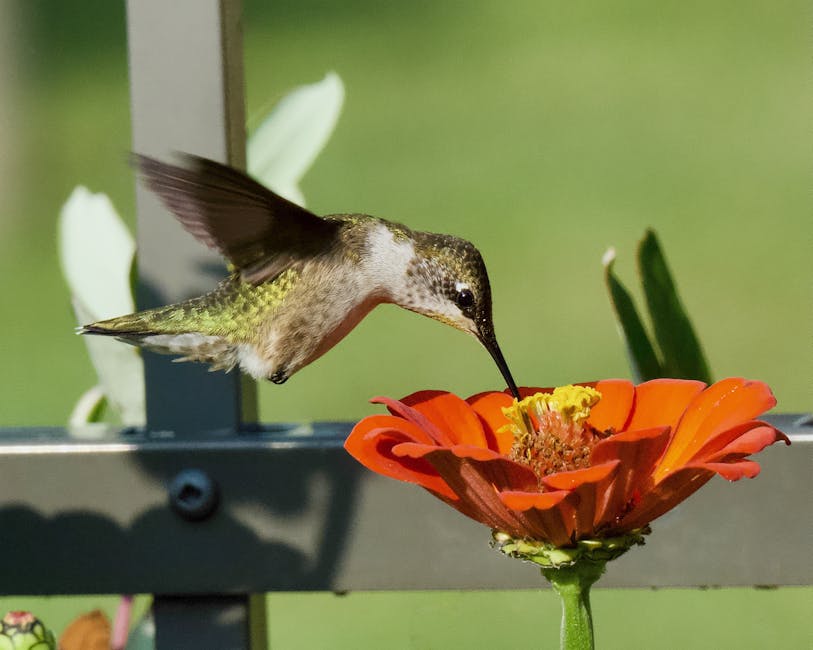
Introduction: Capturing the Grace and Beauty of Birds in Flight
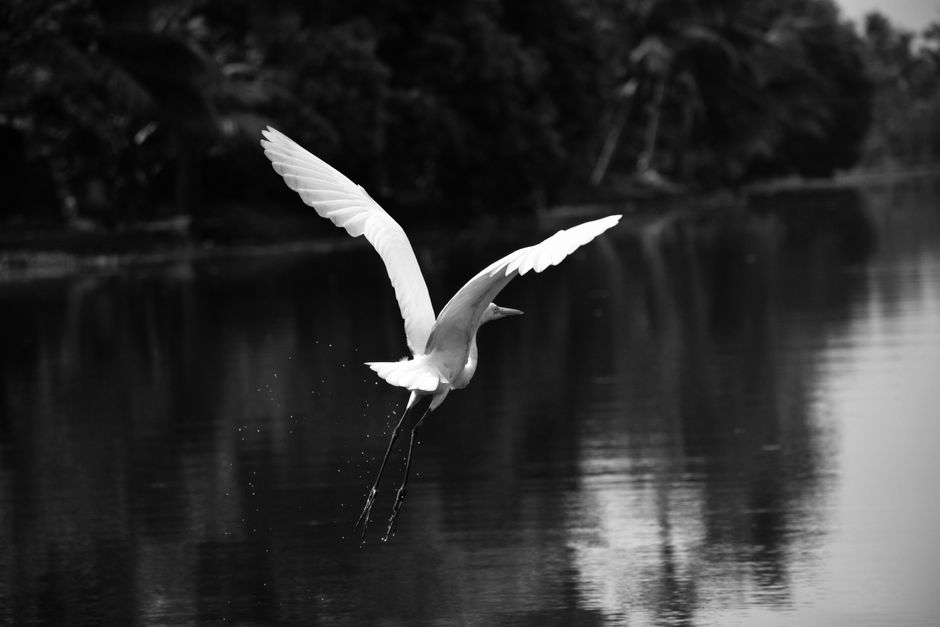
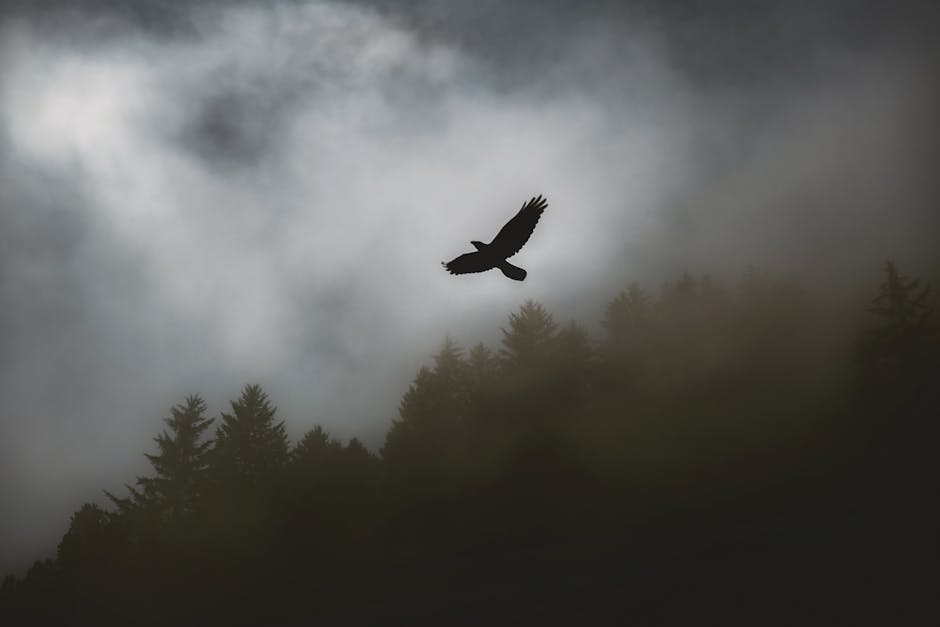
Drawing a bird in flight is an art form that beautifully captures the essence of grace, freedom, and beauty. Throughout history, birds have held symbolic significance, representing inspiration, spirituality, and the boundless spirit of nature. When it comes to art, depicting the dynamic motion of birds in flight adds an extra dimension, evoking awe and wonder.
However, drawing a bird in flight presents unique challenges that require skill, observation, and practice. It involves capturing the motion, fluidity, and balance of a bird’s wings and body in mid-air. Maintaining proportions and conveying the illusion of movement can be daunting for both beginners and experienced artists.
This comprehensive guide aims to provide step-by-step instructions, helpful tips, and common mistakes to avoid when drawing a bird in flight. Whether you are an aspiring artist seeking to improve your skills or someone looking to explore their creativity, this guide will assist you in creating a captivating representation of a bird in flight.
By delving into the intricate process of drawing birds in flight, you will learn techniques to convey their dynamic energy and lifelike features. Through patient observation and practice, you can develop the ability to capture the grace and elegance of birds in motion, bringing your artwork to life.
Drawing a bird in flight is not only a creative endeavor but also a meditative and rewarding experience. It allows us to appreciate the natural world, its beauty, and the marvels of avian flight. So, let us embark on this artistic journey together as we explore the steps, techniques, and tips to master the art of drawing a bird in flight. Are you ready to spread your artistic wings and capture the soaring spirit of these magnificent creatures? Let’s begin!
Supplies You’ll Need

To start your journey into drawing a bird in flight, gather the right supplies. Having the proper materials will make the process smoother and enhance the quality of your artwork. Here are the essential supplies you’ll need:
-
Paper: Choose a suitable blank sheet of drawing or watercolor paper to prevent ink or paint from bleeding through. The smooth surface will allow your pencil or pen to glide effortlessly.
-
Pencils: Get a range of pencils with different lead hardness, such as HB, 2B, and 4B. These grades enable you to achieve a variety of shades and textures. Consider using a mechanical pencil for precise lines.
-
Eraser: Keep a soft eraser, preferably a kneaded one, for correcting mistakes and making adjustments to your drawing. Its versatility allows for fine details and larger areas of highlights.
-
Pens: Experiment with pens of different ink thicknesses, like fine liners or gel pens, for adding details, outlines, or textures to your bird drawing.
-
Brushes: If you plan to incorporate watercolor or ink washes, have a set of brushes available in different sizes and shapes. Flat brushes work well for broad strokes, while round brushes are suitable for precise work.
-
Ink or Watercolors: Consider using watercolors or ink to add color to your bird drawing. Watercolors create vibrant washes and subtle gradients, while ink provides a more defined and bold look.
-
Reference Images: Gather reference images of birds in flight to serve as a visual guide. These can be photographs or drawings capturing the desired pose or angle you want to depict, helping you understand the bird’s anatomy and movement better.
Having these supplies at your disposal will prepare you for your bird drawing adventure. Remember, the right tools can significantly impact the outcome of your artwork. So gather your materials, find a comfortable space, and let your creativity take flight!
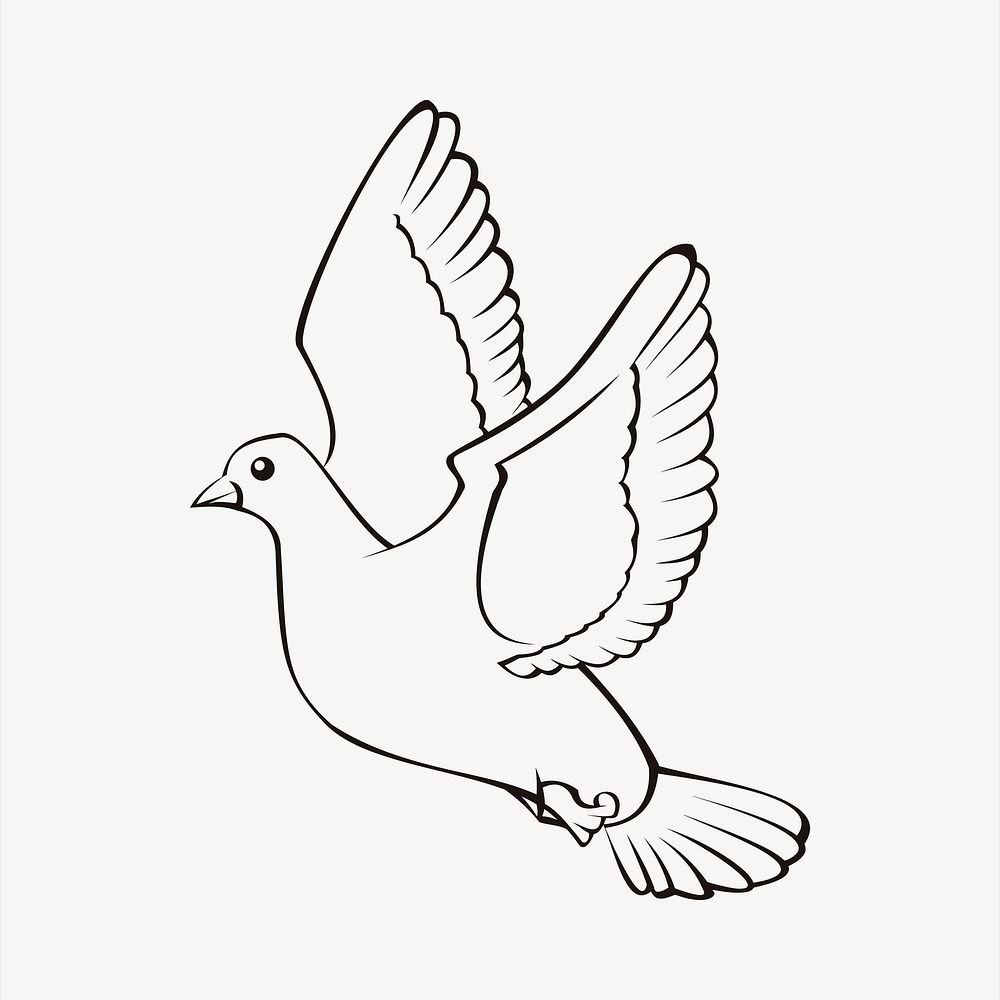
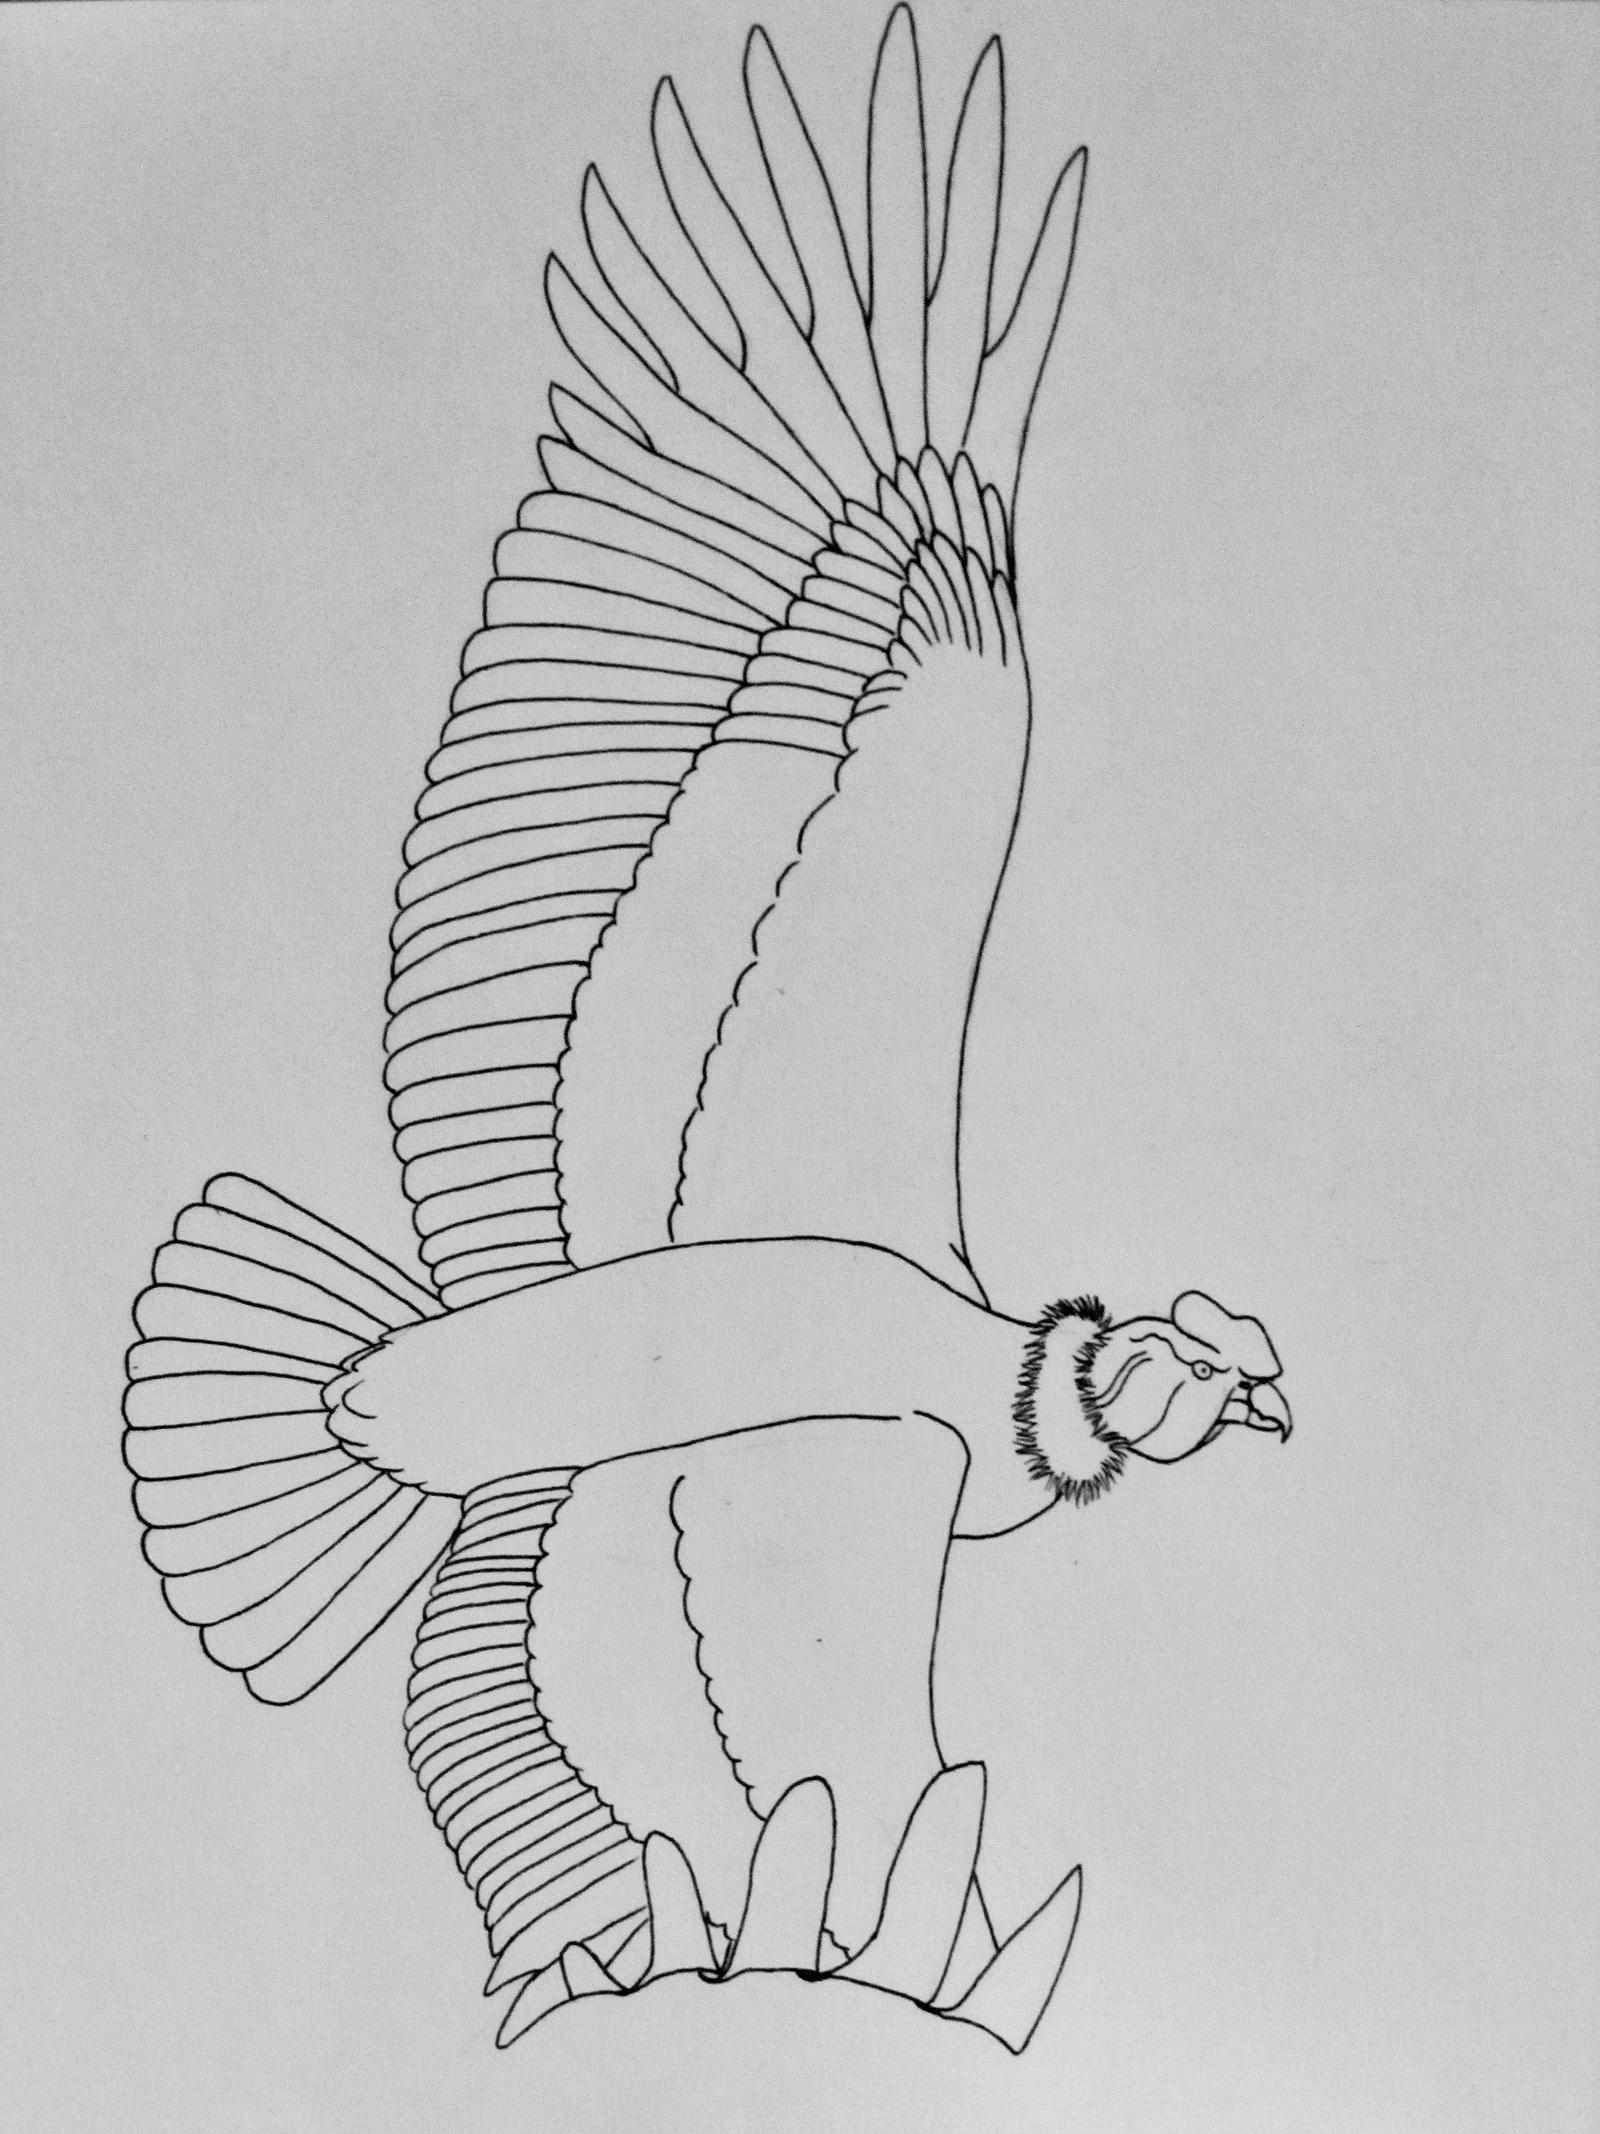
Step-by-Step Guide to Drawing a Bird Flying
Capture the graceful motion of a bird in flight with these step-by-step instructions and accompanying diagrams:
-
Sketch the Basic Shape: Start by sketching an elongated oval for the body and a smaller one for the head. These shapes form the foundation of your drawing.
-
Add the Wings: Extend curved lines from the body to create the wings. Angle them slightly upwards to depict the bird’s upward motion.
-
Outline the Tail Feathers: Behind the body, draw thin, elongated triangles or curved lines to outline the tail feathers. These feathers add depth and movement.
-
Depict Motion with Lines: Convey the wing and feather motion by drawing lines extending from the wingtips and tail feathers. These lines represent the flow of air created by the bird’s wings.
-
Draw the Beak and Eye: Extend a small triangle or elongated shape for the beak and place a small circle towards the front of the head to represent the eye.
-
Detail the Body: Add texture and shape to the body with contour lines or feathers. Use short, curved lines to indicate feather details and the overall body form.
-
Refine the Outlines: Erase unnecessary lines and refine the outlines to create a clean and polished look. Pay attention to proportions, ensuring well-defined body and wings.
-
Add Color and Shading: Bring your drawing to life by adding color or shading. Use light, feathery strokes to depict the softness and texture of the feathers. Experiment with colors and shading techniques for the desired effect.
-
Practice and Experiment: Drawing is a skill that improves with practice. Don’t be discouraged if your first attempts fall short. Keep practicing and experimenting with different poses and bird species to add variety and creativity to your drawings.
By following these step-by-step instructions and dedicating time to practice, you’ll create stunning drawings of birds in flight. The next section provides tips to perfect your bird drawings and make them look realistic and lifelike.
Tips for Perfecting Your Bird Drawing

Drawing a bird in flight can be challenging, but with the right techniques and attention to detail, you can capture the essence of these magnificent creatures. Here are some tips:
1. Observe and study birds in flight
Take time to observe birds in their natural habitat or refer to reference photos and videos. Study their wing positions, body posture, and wing angles. Gain valuable insights to incorporate into your drawing.
2. Start with basic shapes
Establish the overall structure of the bird by sketching basic shapes. Use circles for the body, ovals for the wings, and triangles for the tail. This framework guides you as you add details and refine your drawing.
3. Focus on proportion and symmetry
Proportion and symmetry are crucial for a realistic bird drawing. Pay attention to the body and wing proportions. Birds have streamlined bodies with elongated wings. Ensure symmetrical wings by using guidelines or lightly sketching vertical and horizontal lines.
4. Capture the essence of flight
Convey the dynamic and fluid quality of birds in flight by depicting wings in different positions and angles. Experiment with extended wings, partially folded wings, or upward and downward strokes. These poses add motion and realism to your drawing.
5. Detail the feathers
Feathers contribute to the realistic appearance of a bird. Study feather arrangements and textures of different species. Observe feather overlap and patterns. Use light, feathery strokes to depict individual feathers, gradually building up texture and volume. These details enhance the realism of your bird drawing.
By following these tips, you can take your bird drawing to the next level, creating a realistic and lifelike representation of a bird in flight. Practice regularly and be patient, as mastering these techniques takes time and dedication.
Common Mistakes to Avoid When Drawing a Flying Bird
When it comes to drawing a flying bird, there are several common mistakes that artists often make. By being aware of these errors, you can take steps to avoid them and create a more accurate and lifelike representation.
Lack of Proper Reference

Using proper reference material is crucial when drawing a flying bird. Study real birds in flight or refer to high-quality photographs to understand their anatomy, proportions, and movement. Gather visual references and use them as a guide throughout your drawing process.
Incorrect Wing Position
Placing the wings in incorrect positions is a common mistake. Different bird species have specific wing positions depending on their flight patterns and wingbeat phase. Understand the basic wing positions, such as extended, upward stroke, downward stroke, and folded wings. Study various bird species and practice depicting their wing positions accurately.
Lack of Dynamic Movement
A static or stiff pose can make a flying bird drawing look lifeless. Birds in flight exhibit dynamic and fluid movement, constantly adjusting their wings, tail, and body for balance and aerodynamics. Capture the sense of motion and energy by depicting the bird in a natural and dynamic pose. Pay attention to the curvature of the wings, the tilt of the body, and the position of the tail to convey convincing movement.
Neglecting Feather Details
Feathers play a significant role in the appearance and texture of a flying bird. Neglecting to add feather details or using generic and simplified shapes can result in a flat and unrealistic representation. Pay close attention to the feather patterns, textures, and direction. Study how the feathers overlap and interact with each other, and render their forms to add depth and dimension to your artwork.
Overcomplicating the Background
While creating a visually appealing background is important, be cautious not to overcomplicate it. The focus should remain on the bird itself, so the background should complement rather than overpower the main subject. Keep the background relatively simple and use techniques like soft blending or subtle textures to suggest the surrounding environment without distracting from the bird’s presence.
By avoiding these common mistakes, you can elevate the quality of your flying bird drawings and create captivating and realistic artwork. Now let’s explore some tips for perfecting your bird drawing technique.
Step-by-Step Guide to Drawing a Bird Flying
[Content for section 3 goes here.]
Tips for Perfecting Your Bird Drawing Technique
[Content for section 4 goes here.]
Practice Makes Perfect: Suggestions on How to Practice and Perfect Your Drawing

Regular practice is crucial for improving your drawing skills. Here are some suggestions to help you practice and perfect your bird drawings:
Importance of Regular Practice
Consistent practice is essential for honing your drawing abilities. By practicing regularly, you develop muscle memory and refine your technique. Make a commitment to set aside dedicated time for drawing on a regular basis.
Setting Up a Drawing Routine
To establish a productive drawing routine, consider the following tips:
- Designate a specific time and space: Choose a time of day when you’re most alert and focused. Find a comfortable and quiet environment where you can concentrate without distractions.
- Set realistic goals: Define achievable goals for each practice session, such as completing a certain number of sketches or focusing on specific techniques.
- Commit to a consistent practice schedule: Create a schedule that works best for you, whether it’s daily, a few times a week, or on weekends. Stick to this routine to ensure regular practice becomes a habit.
Warm-up Exercises
Begin each drawing session with warm-up exercises to prepare your hand and mind for the creative process. Consider doodling simple shapes, lines, and curves to improve your hand-eye coordination and precision. Experiment with strokes and techniques using your preferred drawing tools to discover the range of possibilities and effects you can achieve.
Study References and Observe
Studying references and observing real-life birds can greatly enhance your drawing skills. Utilize photographs, videos, and books that feature bird imagery to study their anatomy, motion, and unique characteristics. Observe birds in their natural habitats or through documentaries to understand their flight patterns and behavior.
Break Down the Process
When drawing a bird, start by breaking down its form into basic shapes such as circles, ovals, and triangles. This simplification helps establish the overall structure and proportions before adding intricate details. By breaking down the process, you can approach the drawing with more confidence and accuracy.
Conclusion
[Content for the conclusion goes here.]
Conclusion: Final Thoughts on Drawing a Bird Flying

Drawing a bird in flight is a challenging yet rewarding artistic endeavor. Throughout this article, we have explored the step-by-step process of capturing the grace and motion of a flying bird on paper. Let’s recap the main points discussed and conclude with some final thoughts.
Recap of the Main Steps
To draw a bird flying, we began by gathering the necessary supplies and familiarizing ourselves with the anatomy of birds in flight. We followed a detailed guide, utilizing diagrams and instructions, to create a dynamic representation of a bird soaring through the skies. By paying attention to details such as body posture, wing position, and feather arrangement, we brought our drawings to life.
The Importance of Practice
As with any skill, practice plays a crucial role in improving your drawing abilities. Drawing birds in flight requires observation, precision, and understanding of motion. Encourage yourself to practice regularly and experiment with different techniques. Over time, you will develop a keen eye for capturing the essence of birds in flight and refine your artistic skills.
Benefits of Drawing Birds in Flight
Drawing birds in flight offers a unique opportunity to capture the sense of freedom, movement, and grace that these creatures possess. By studying their anatomy and flight patterns, you can enhance your observational skills and gain a deeper understanding of form, proportion, and motion. This knowledge can be applied to various other subjects and improve your overall drawing proficiency.
Addressing Challenges
Drawing birds in flight presents its own set of challenges. The complex anatomy and rapid motion of birds can make it difficult to capture their essence accurately. However, with dedication and perseverance, you can overcome these challenges. By breaking down the drawing process into manageable steps, practicing specific techniques, and learning from your mistakes, you will gradually improve your ability to depict birds in flight convincingly.
Additional Tips and Resources
To further expand your knowledge and refine your skills in drawing birds or any other subject matter, consider exploring additional resources. Books on ornithology, art tutorials focused on avian subjects, and online art communities can provide valuable insights and inspiration. Engage with fellow artists, share your work, and seek feedback to foster growth and improvement in your artistic journey.
A Final Note of Encouragement
Drawing a bird in flight is a challenging but immensely rewarding pursuit. By following the step-by-step guide, honing your skills through practice, and embracing the beauty of avian motion, you can create captivating artworks that evoke a sense of wonder and awe. Remember, every stroke of the pencil or brush is an opportunity for growth and self-expression. Embrace the journey, enjoy the process, and let your creativity soar to new heights.
Now armed with the knowledge and techniques shared in this article, it’s time to pick up your drawing tools and embark on your artistic adventure. Happy drawing!
Frequently Asked Questions
Frequently Asked Questions
1. How can I draw a bird flying easily?
Drawing a bird flying can be made easier by following a step-by-step approach. Start by sketching basic shapes for the body, wings, and tail. Then, add details such as the beak, eye, and feathers. Practice observing birds in flight and study their anatomy to improve your understanding of their motion.
2. What are some tips for drawing realistic wings on a flying bird?
To draw realistic wings on a flying bird, focus on the wing position and angles. Study reference images or observe real birds in flight to understand the different wing positions, such as extended, upward stroke, downward stroke, or folded wings. Pay attention to the curvature and proportion of the wings, and practice depicting them accurately.
3. How can I add depth and texture to my bird drawing?
To add depth and texture to your bird drawing, pay attention to the feather details. Study the feather patterns, textures, and direction of different bird species. Use light, feathery strokes to depict individual feathers, gradually building up texture and volume. Experiment with shading techniques to create depth and highlight the three-dimensional form of the bird.
4. What are common mistakes to avoid when drawing a flying bird?
Common mistakes to avoid when drawing a flying bird include neglecting proper reference material, placing the wings in incorrect positions, creating a static or stiff pose, neglecting feather details, and overcomplicating the background. Refer to high-quality references, study wing positions, focus on capturing motion, pay attention to feather details, and keep the background simple to avoid these mistakes.
5. How can I practice and improve my bird drawing skills?
To practice and improve your bird drawing skills, establish a regular drawing routine and dedicate specific time for practice. Warm up with simple exercises, study references and observe real birds, break down the drawing process into basic shapes, and practice regularly. Experiment with different
Leave a Reply